API Keys

WarpSpeed.io uses API Keys to access your Digital Ocean or Linode account to automatically create servers for you. The topics below will help you configure API Keys in your WarpSpeed.io account.

Topics

Obtaining an API key for your Digital Ocean account.

  1. If you don’t already have an account, create one here.
  2. Login to your account and then click the “API” link in the top menu bar.

  3. Locate and click the “Generate New Token” button in the upper left hand portion of the screen.

  4. Enter “warpspeed” in the token name text box.
  5. In the “Select Scopes” section, be sure to check the “Write” checkbox.

  6. Click the “Generate Token” button.
  7. The API key you generated will be displayed only once for security reasons. Copy this key so you can paste it into your WarpSpeed account settings.

Obtaining an API key for your Linode account.

  1. If you don’t already have an account, create one here.
  2. Login to your account and then click on the “my profile” link in the upper right hand corner. You will be prompted for your password.
  3. Click on the “API Keys” tab on the far right of the “My Profile” page.
  4. Use the “Add an API key” form to create a new API key. Enter the label “warpspeed” and leave expires set to “Never”, then click “Create API Key”.

  5. The API key you generated will be displayed only once for security reasons. Copy this key so you can paste it into your WarpSpeed account settings.

Adding an API key to your WarpSpeed account.

  1. Login to your WarpSpeed account here.
  2. Click on your name in the upper right hand corner of the screen and then select “Account Settings” from the drop down menu.
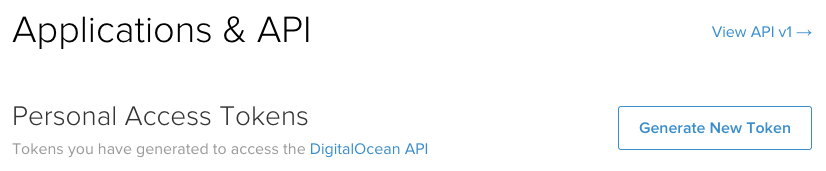
  3. On the “Server Providers” tab, select the Provider that you are adding the key for.
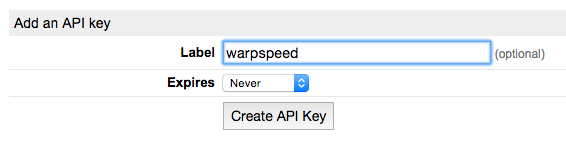
  4. Add a nickname for the key. If you only have one account for a particular provider, this can just be the provider name. If you have multiple accounts, name it something that will help differentiate the accounts.
  5. Paste the API key from your server provider in the “API Key” text box.
  6. Click “Add Server Provider” and celebrate.